
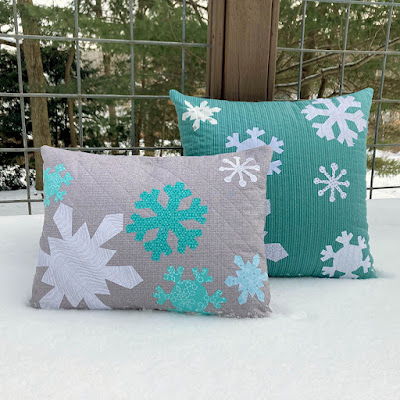
It's snowflake season! The timing on this post is perfect, because we are currently in the middle of a snowstorm. I'm sharing my Flurry Pillows tutorial over on Thermoweb's blog today.

Click here to see the tutorial. Below, I'm sharing a little more in-depth zipper tutorial. I used to make only envelope pillows, but a few years ago, I tried adding a zipper to a pillow I made and haven't looked back - I like the results so much better!
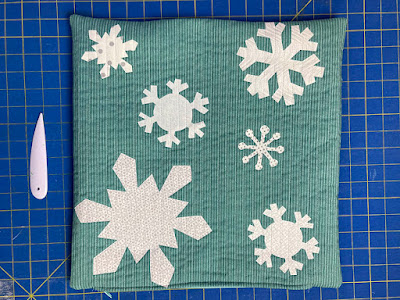
Teal Square Pillow details:
Start with (2) 17" squares of background fabric and (2) 17" squares of Fusible Fleece. Follow the tutorial directions to make front and back, squaring each side up to 16-1/2" after quilting.
Start with (2) 17" squares of background fabric and (2) 17" squares of Fusible Fleece. Follow the tutorial directions to make front and back, squaring each side up to 16-1/2" after quilting.
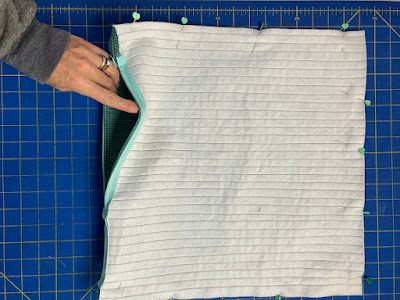
After your pillow front and back are assembled and squared up, it's zipper time!
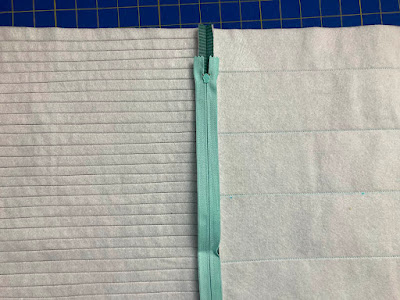
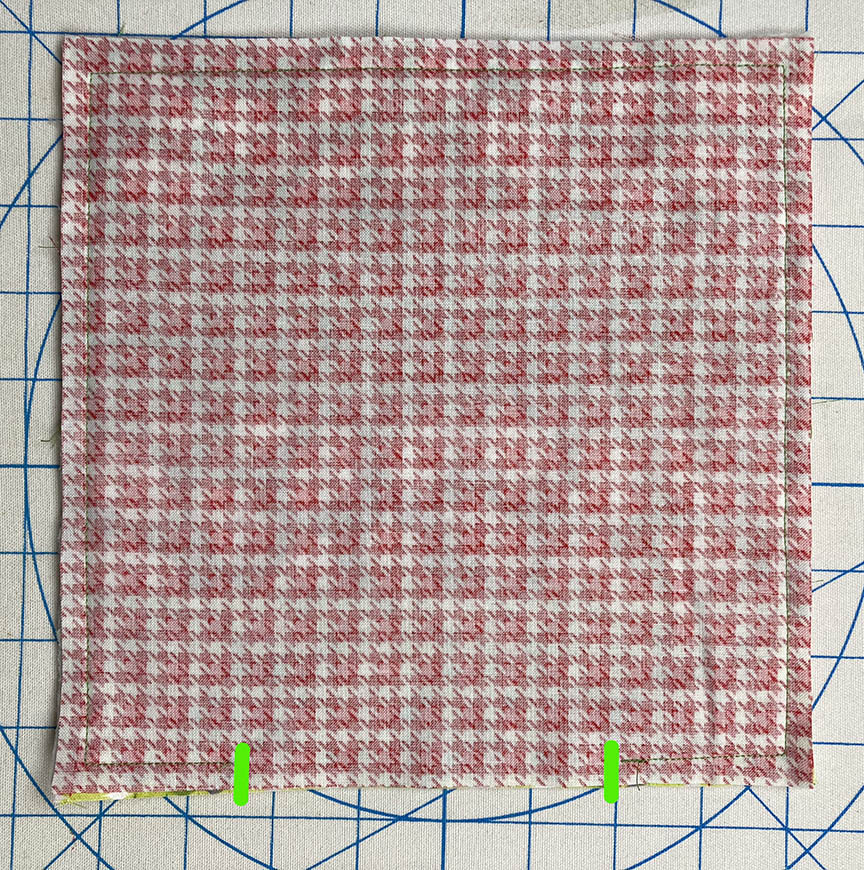
Step 1 Place the pillow front and back right sides together. Increase your stitch length for basting. Stitch along what will be the bottom edge of the pillow with this long stitch, using a generous 1/4" (sometimes I even go 1/2") seam allowance.

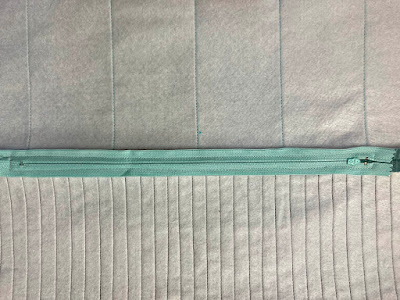
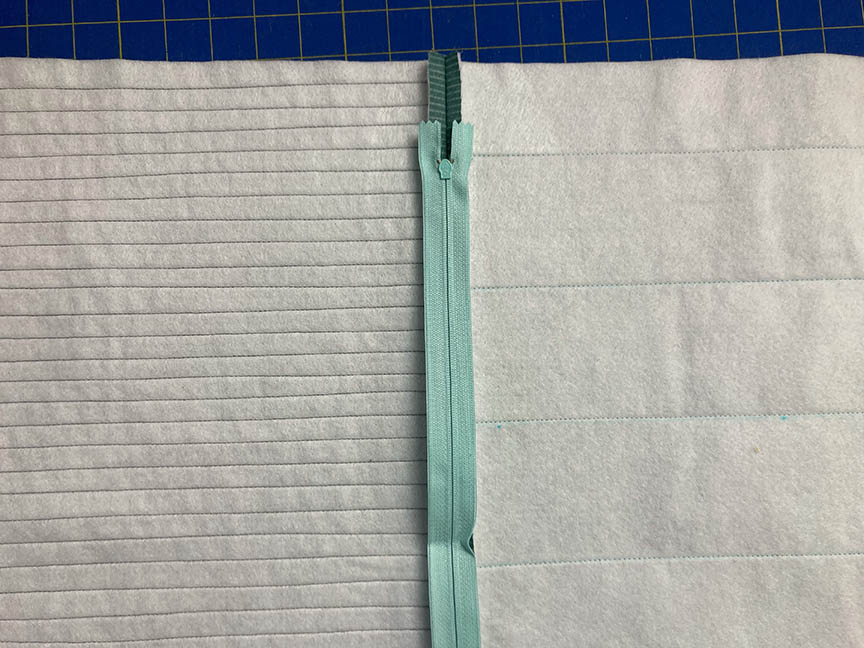
Step 2 Press the seam open. Layer the zipper on top the seam, right side down. Center along the pillow. The zipper teeth should align with your seam line.
Step 3 Using a zipper foot on your machine, stitch along both long sides of the zipper, as well as the short ends. Hint: Make sure you switch your machine back to a normal stitch length - I often forget and start sewing my zipper on with a basting stitch!
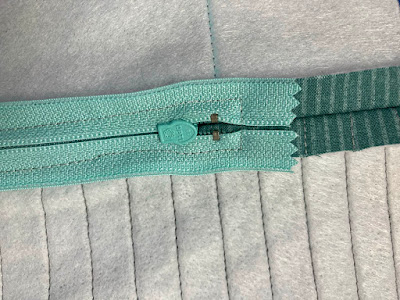
Here's a close-up of the top end of the zipper - I've stitched above the metal end.
Step 5 Open the zipper and then fold the pillow front and back right sides together, matching raw edges. Pin along raw edges. Make sure your zipper is open. Did I mention that yet? It's important. Stitch around the remaining (3) sides of the pillow, backstitching at the beginning and end. Clip corners carefully to reduce bulk.
Step 6 Turn the pillow cover right side out (through that open zipper!) and poke the corners out.
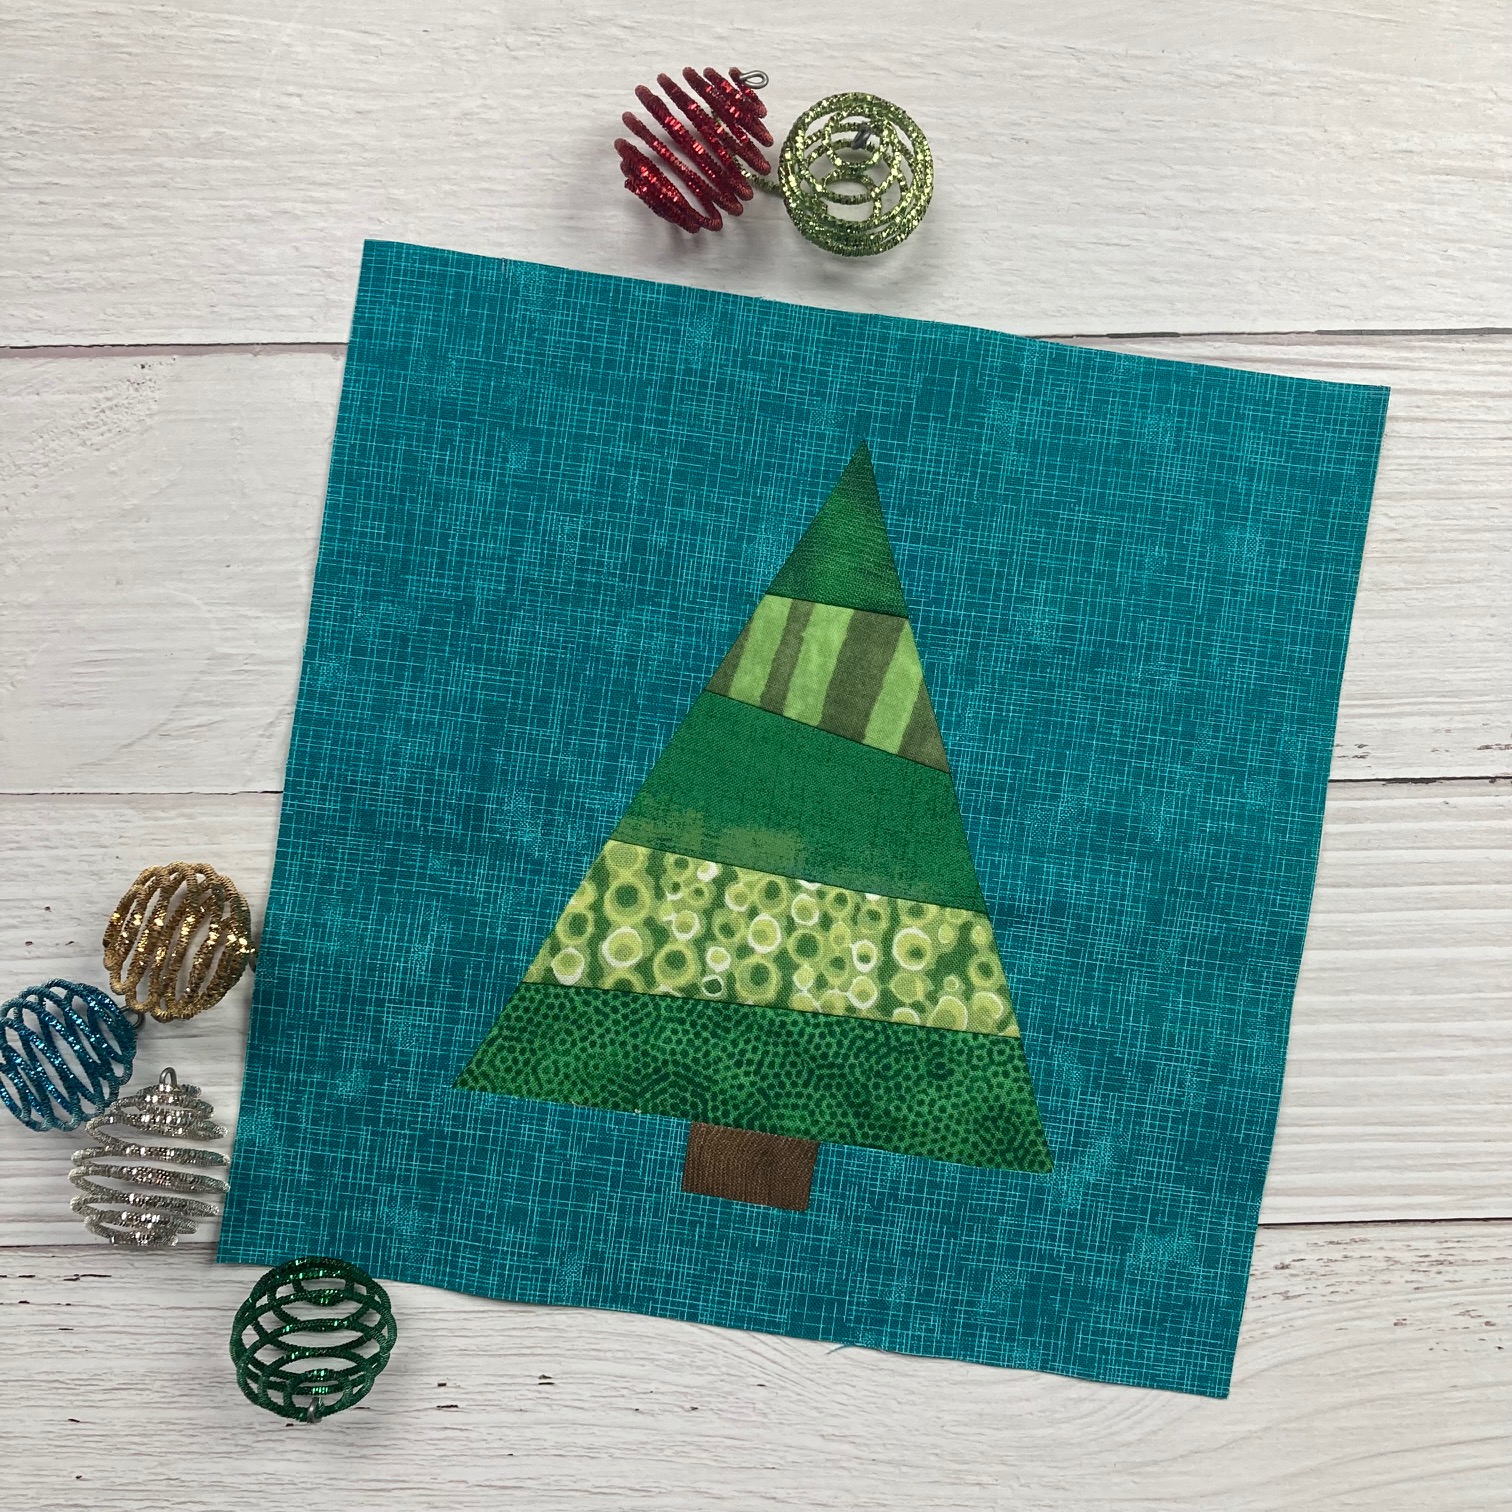
Step 7 Insert your pillow form (in this case, a 16" square pillow) and enjoy!

We'll be enjoying these snowflakes on our snowy day!
Step 1 Place the pillow front and back right sides together. Increase your stitch length for basting. Stitch along what will be the bottom edge of the pillow with this long stitch, using a generous 1/4" (sometimes I even go 1/2") seam allowance.


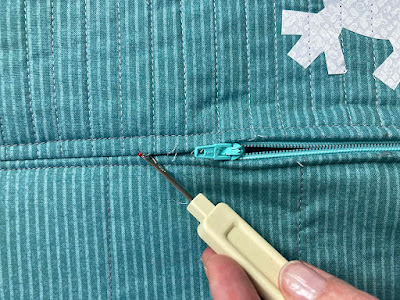
Step 4 Use a seam ripper to open the basting stitch along the zipper. Do not open the stitches all the way across the pillow bottom - just between the stitches that hold the zipper in place.


