
It's week 4 of the Strippy Improv Halloween Quilt Along! Time for assembly and finishing!

Ready to finish your project? I've got some tips and advice to make this process go more smoothly.
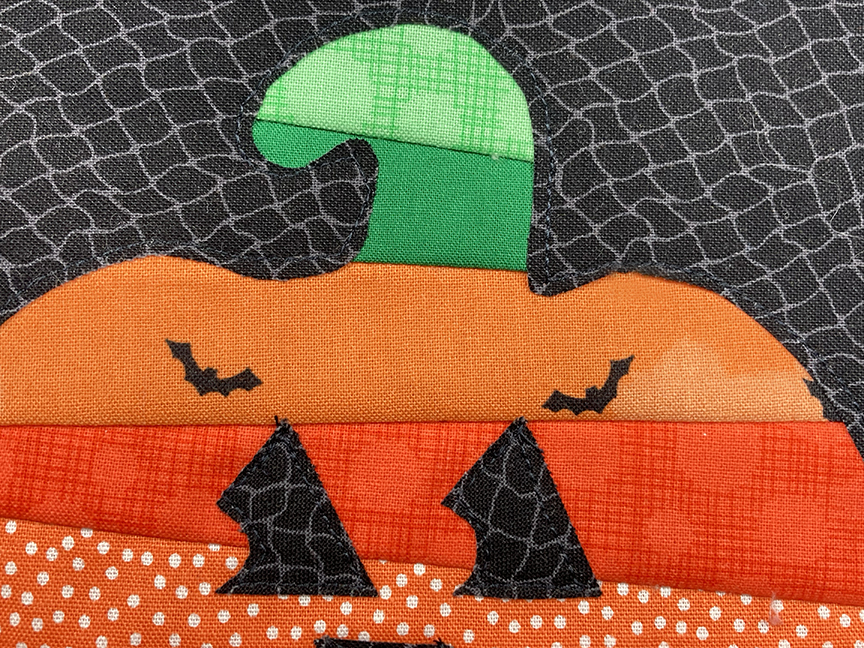
The Strippy Improv Halloween pattern includes directions for finishing your block as a table runner or as a wall hanging. Choose what works best for you!

Tip 1: Don't forget to secure the appliqued background to your stitching! Depending on how the project will be used, I vary which stitch I choose. If it's a wall hanging that won't be handled a lot, I use a straight stitch along the outer edge. If it's something that will be handled/washed more frequently, I will choose a zig zag stitch that adds a little more security.
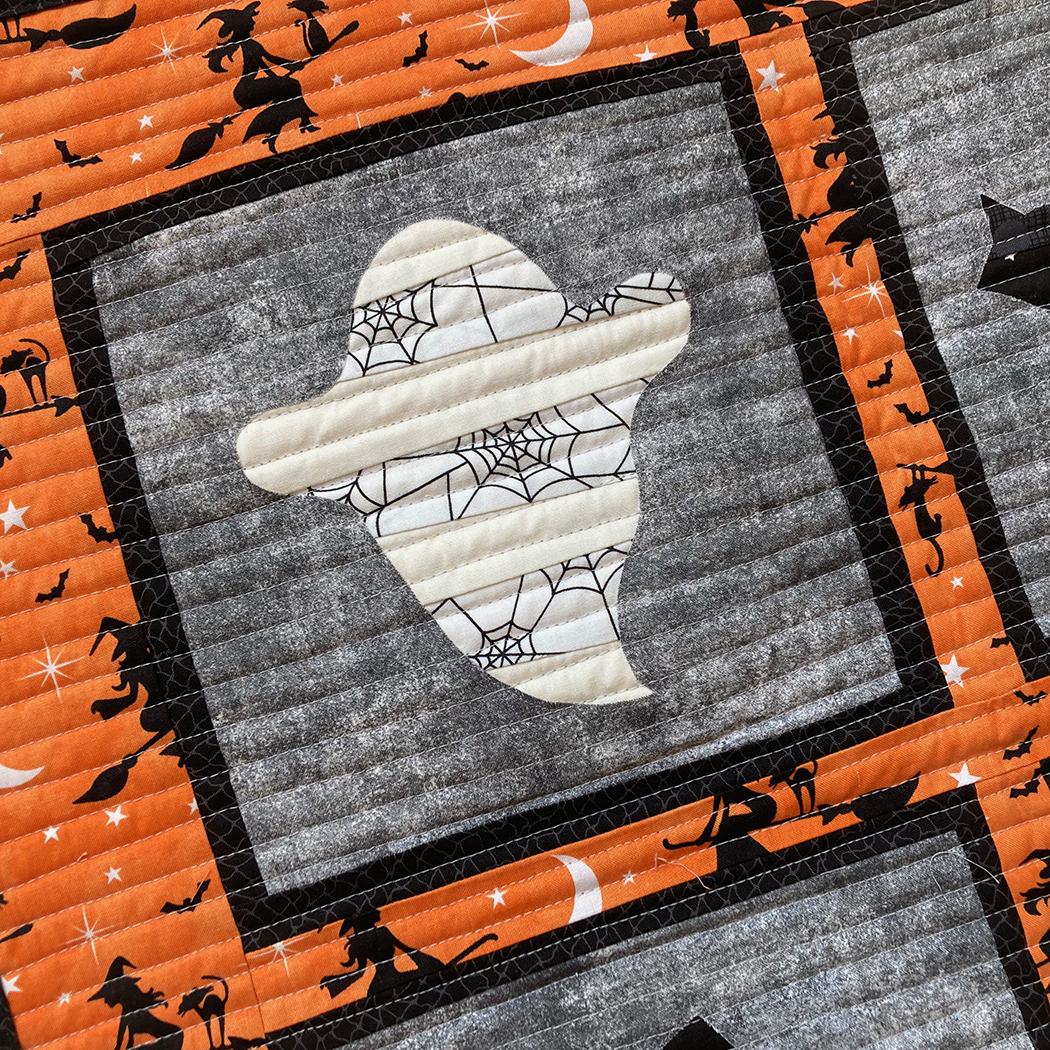
Tip 2: Choose a neutral thread color for machine quilting. This can seem hard to choose if, like in my pillow, you have a lighter gray block background and then a black border background. But if you choose a simple quilting design like straight lines (my go-to!), the quilting primarily provides texture and the thread color doesn't stand out.

Tip 3: Let's talk machine quilting. Diane Oakes quilted my first wall hanging, and did a beautiful job! She switched out thread colors for different fabrics, did some echo quilting in each of te shapes, and added in that adorable spider and web!

I machine quilted my second wall hanging and the pillow. I opted for straight horizontal lines to create texture without distracting from the design. I freehanded the lines, starting along one of the block frames, and then moved over the width of my walking foot for each line. Quick, easy and effective!


Next up is a tote bag for trick or treating, which I'll share as soon as I finish it! :)
Need the full Strippy Improv Halloween Pattern? Purchase the digital pattern here.
And mark your calendars for the Strippy Improv Holiday QAL, starting mid November!
If you're new here, welcome! I hope you'll stay and look around a bit.

No comments:
Post a Comment