Can you believe it?!?! We're on the 4th and final week of the Strippy Improv Holiday Quiltalong!
I hope you've had as much fun as I've had, maybe learned a few things, and are well on your way to a completed project!
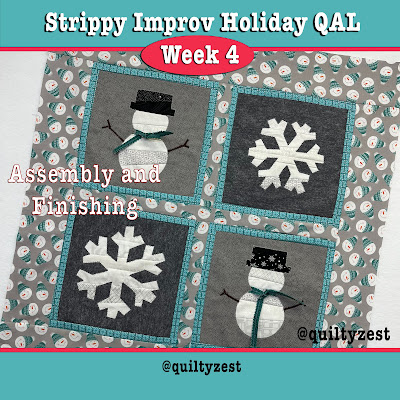
This week, we're talking Assembly and Finishing. The Strippy Improv Holiday pattern includes two finishing options - a 4-block wall hanging (see the image above), and a 4-block table runner. Of course, you're welcome to assemble your blocks however you like!
Here are a couple of my assembly tips. Both of these tips come from the block frames and sashing being so narrow - that means that any slightly crooked sewing will stand out, because all these narrow strips are so close to each other. So here's what I suggest:
1. Pay attention to alignment. After you've joined your vertical sashing to 2 framed blocks to make a block row, you'll join the block rows to a horizontal sashing strip. To make sure the vertical sashing and block frames are lined up, fold the top block row down to double check alignment. When you're satisfied, pin on both sides of the sashing to ensure it stays in place as you sew.
]
2. Sew with the skinniest strip on top. When you're adding borders, sew with the block/frame side on the top (and the border strip on the bottom). This allows you to make sure your frame is staying the same width as you stitch down the length of the quilt center - if the border strip is on top, you're sewing "blind" and just counting on your 1/4" seam allowance to be correct. Especially with narrow strips, this isn't always the case. Keeping the blocks/frames on top ensures that you can adjust as needed.
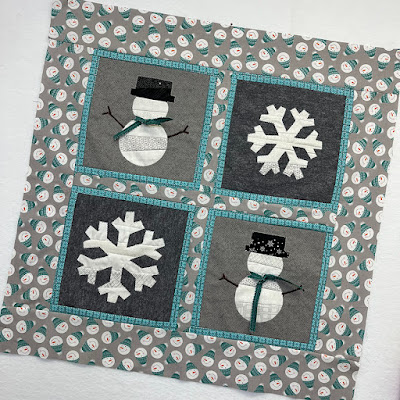
Here's what my finished quilt top looks like (machine quilting to come, hopefully this weekend!):
Speaking of machine quilting, let's talk quilting ideas.
My go-to is straight line quilting, because:
1. it's easy
2. it's quick
3. it creates texture rather than distracting from the quilt top
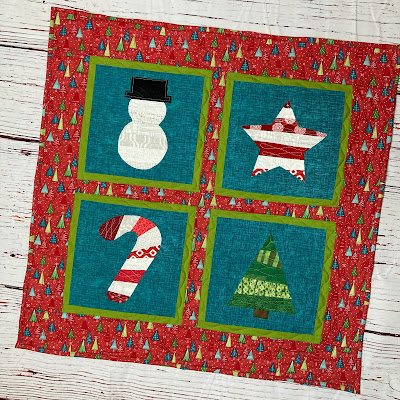
Here's an example of a wall hanging I made using straight line quilting. I did vertical lines in this version because of the vertical stripes in my block backgrounds. Typically I do horizontal, to go along with the "lines" of the strippy improv piecing. You can see the texture it creates without distracting from the design.
This quilt was machine quilted by Diane Oakes. She outlined the little trees in the border and did some fantastic loops in the block shapes. I love the look of this type of quilting - it allows you to customize your stitches to your designs!
No matter how you quilt your project, it'll turn out great, I'm sure!
For more info on assembly and finishing, watch this week's YouTube video.
So...what happens if your December is filling up with shopping, cookie making, holiday get-togethers and just the general crazy-busy-ness of life? That's when one-block finishes are key!
You can transform one block into a throw pillow (example image coming soon - mine isn't done yet!), a mini quilt, a tote bag, or even a hot pad! Quick to finish, since it's just one block, and wonderful gift ideas!
Here are two mini quilts I made last December (on the day of my guild's Holiday Party with gift exchange, of course! Hooray for the last-minute folks!)
Find basic tutorials for transforming 1 block into a throw pillow or a tote bag here.
****************************************************************************
Join the Strippy Improv Holiday Quilt Along!
Get the pattern here. It includes all 11 blocks. If you've purchased the pattern previously, you can get the 6 new blocks for free - sign up for my newsletter here, and you'll receive an email with a link to download the new blocks.
QAL Details:
Sew along with me to create a holiday wall quilt or table runner before Christmas! I'll post once a week with tips and advice (plus that all-important accountability!) to keep us on track. These blocks are addicting...just wait and see!
Purchase the pattern here.
Week 4: December 7th - Assembly and Finishing


