It's hearts and chocolate season! Valentine's Day is coming and you still have time to sew a heart-themed project! I've collected my favorites to share with you - most are tutorials available on my blog; a couple are patterns to purchase. I'm also hosting a giveaway on IG, so head over to check it out.
Enjoy and Happy. Valentine's Day!
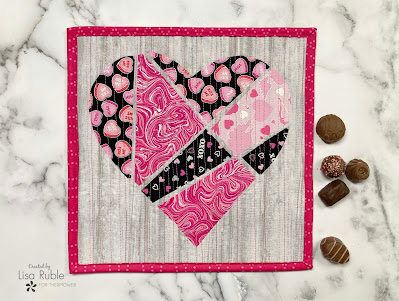
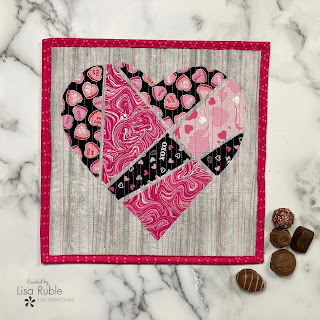
Puzzle Heart Mini Quilt
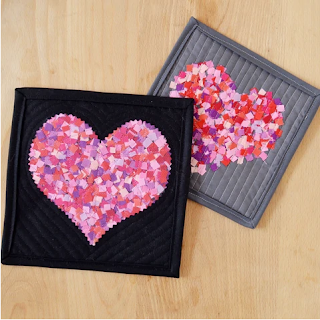
This no-sew heart is made using HeatnBond fusible applique and random rotary cuts.
Two each blocks for a fabric version of the classic XOXO make up a fun wall hanging. I used Christa Watson's Gridwork collection.

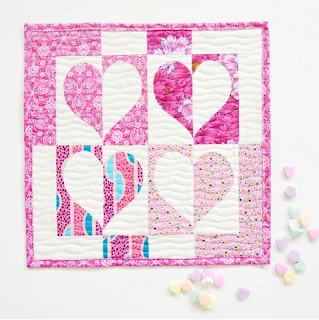
I used an existing heart block pattern and a variety of Valentine colored solids to make this modern mini quilt.

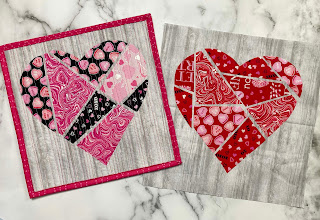
These mini quilts bring the idea of tiny fabric scraps to a whole new level! I originally created this tutorial for PBS Fabrics.
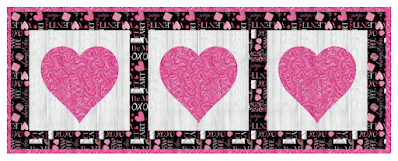
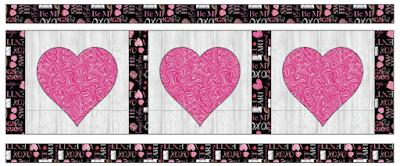
Pick your favorite prints plus a contrasting solid to make these easy applique quilt. I originally designed this tutorial for PBS Fabrics.


This is still a favorite of mine--a fabric tic tac toe board with Xs, Os and hearts.

Plus two quilt patterns:
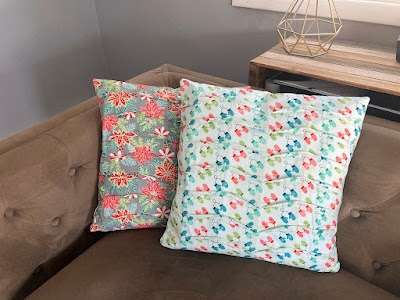
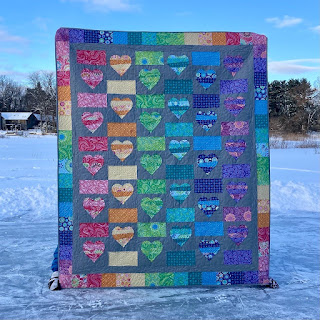
This quilt pattern includes the lap-size quilt you see here, plus instructions to make a baby quilt and a throw pillow.
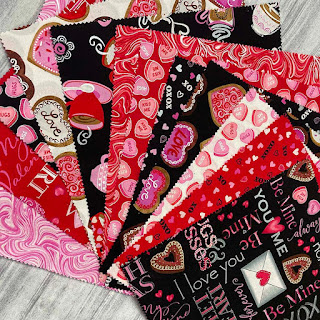
After I designed my It's a Swirl quilt, I saw some chocolate fabrics and realized how much theseswirls looked like a box of fancy chocolates! These instructions are included in the pattern. The version shown below uses Benartex's Chocolicious collection.

If you're new here, welcome! I hope you'll stay and look around a bit.