Friday, October 28, 2022

Hello Fall Coffee Cup Wraps


Happy fall! Today I'm sharing a tutorial over on the Thermoweb blog to make these coffee cup wraps using the Hello Fall collection by Jessica Flick for Benartex. You can find the full tutorial for the single fabric wrap here.

Below are the steps to make a pieced wrap. You can also watch the video tutorial for this here.

Step 1: Trace the full coffee wrap shape onto a piece of muslin. 
Step 2: Position the first strip right side up so it covers the left end of the traced shape. Position the second strip right side down on top. Stitch through all layers using a 1/4" seam allowance from the edge of the strips.

Step 2: Press the second strip open.


Step 3: Position a third strip, right side down. Angle it slightly as shown, but make sure it covers the edge of the second strip. Stitch in place, using a 1/4" seam allowance along the edge of the third strip.

Step 4: Fold back the muslin and trim the excess strip as shown.


Step 5: Press the third strip open. 

Step 6: Position the fourth strip, again angling it slightly as shown.

Step 7: Continue adding and trimming strips in this manner until the entire wrap shape on the muslin is covered.

Step 8: Flip the pieced unit over and position the Fusible Fleece piece on the back, making sure the pieced strips extend beyond it on all sides. Fuse in place.

Step 9: Machine quilt the strips in place as desired. Trim 1/4" past the fleece shape. Follow the remaining steps in the tutorial to complete the coffee cup wrap.


And you're done!


**************************************************************************
And one more last thing...
If you're new here, welcome! I hope you'll stay and look around a bit. 
If you like what you've seen here, you can also find me:
To find all of my quilt patterns, visit my Etsy shop
Find me on IG here.
Sign up for my newsletter in the right-hand sidebar or here
(You'll receive a free pattern for my Diamond Drama quilt (below) as a thank you!)


Thursday, October 27, 2022

Strippy Improv Halloween Finishes!

I've had a flurry of sewing lately and wanted to share a few of my Strippy Improv Halloween finishes. 

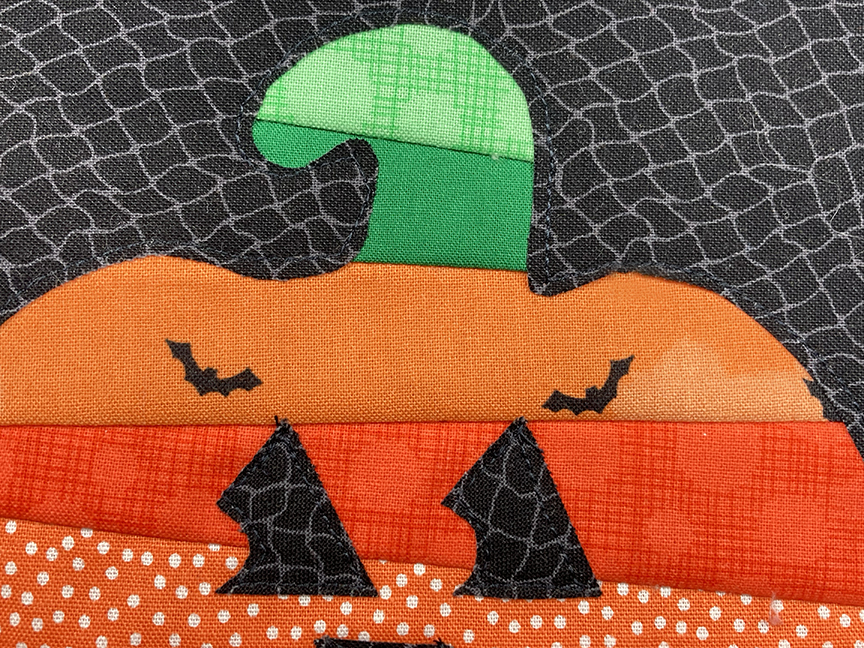
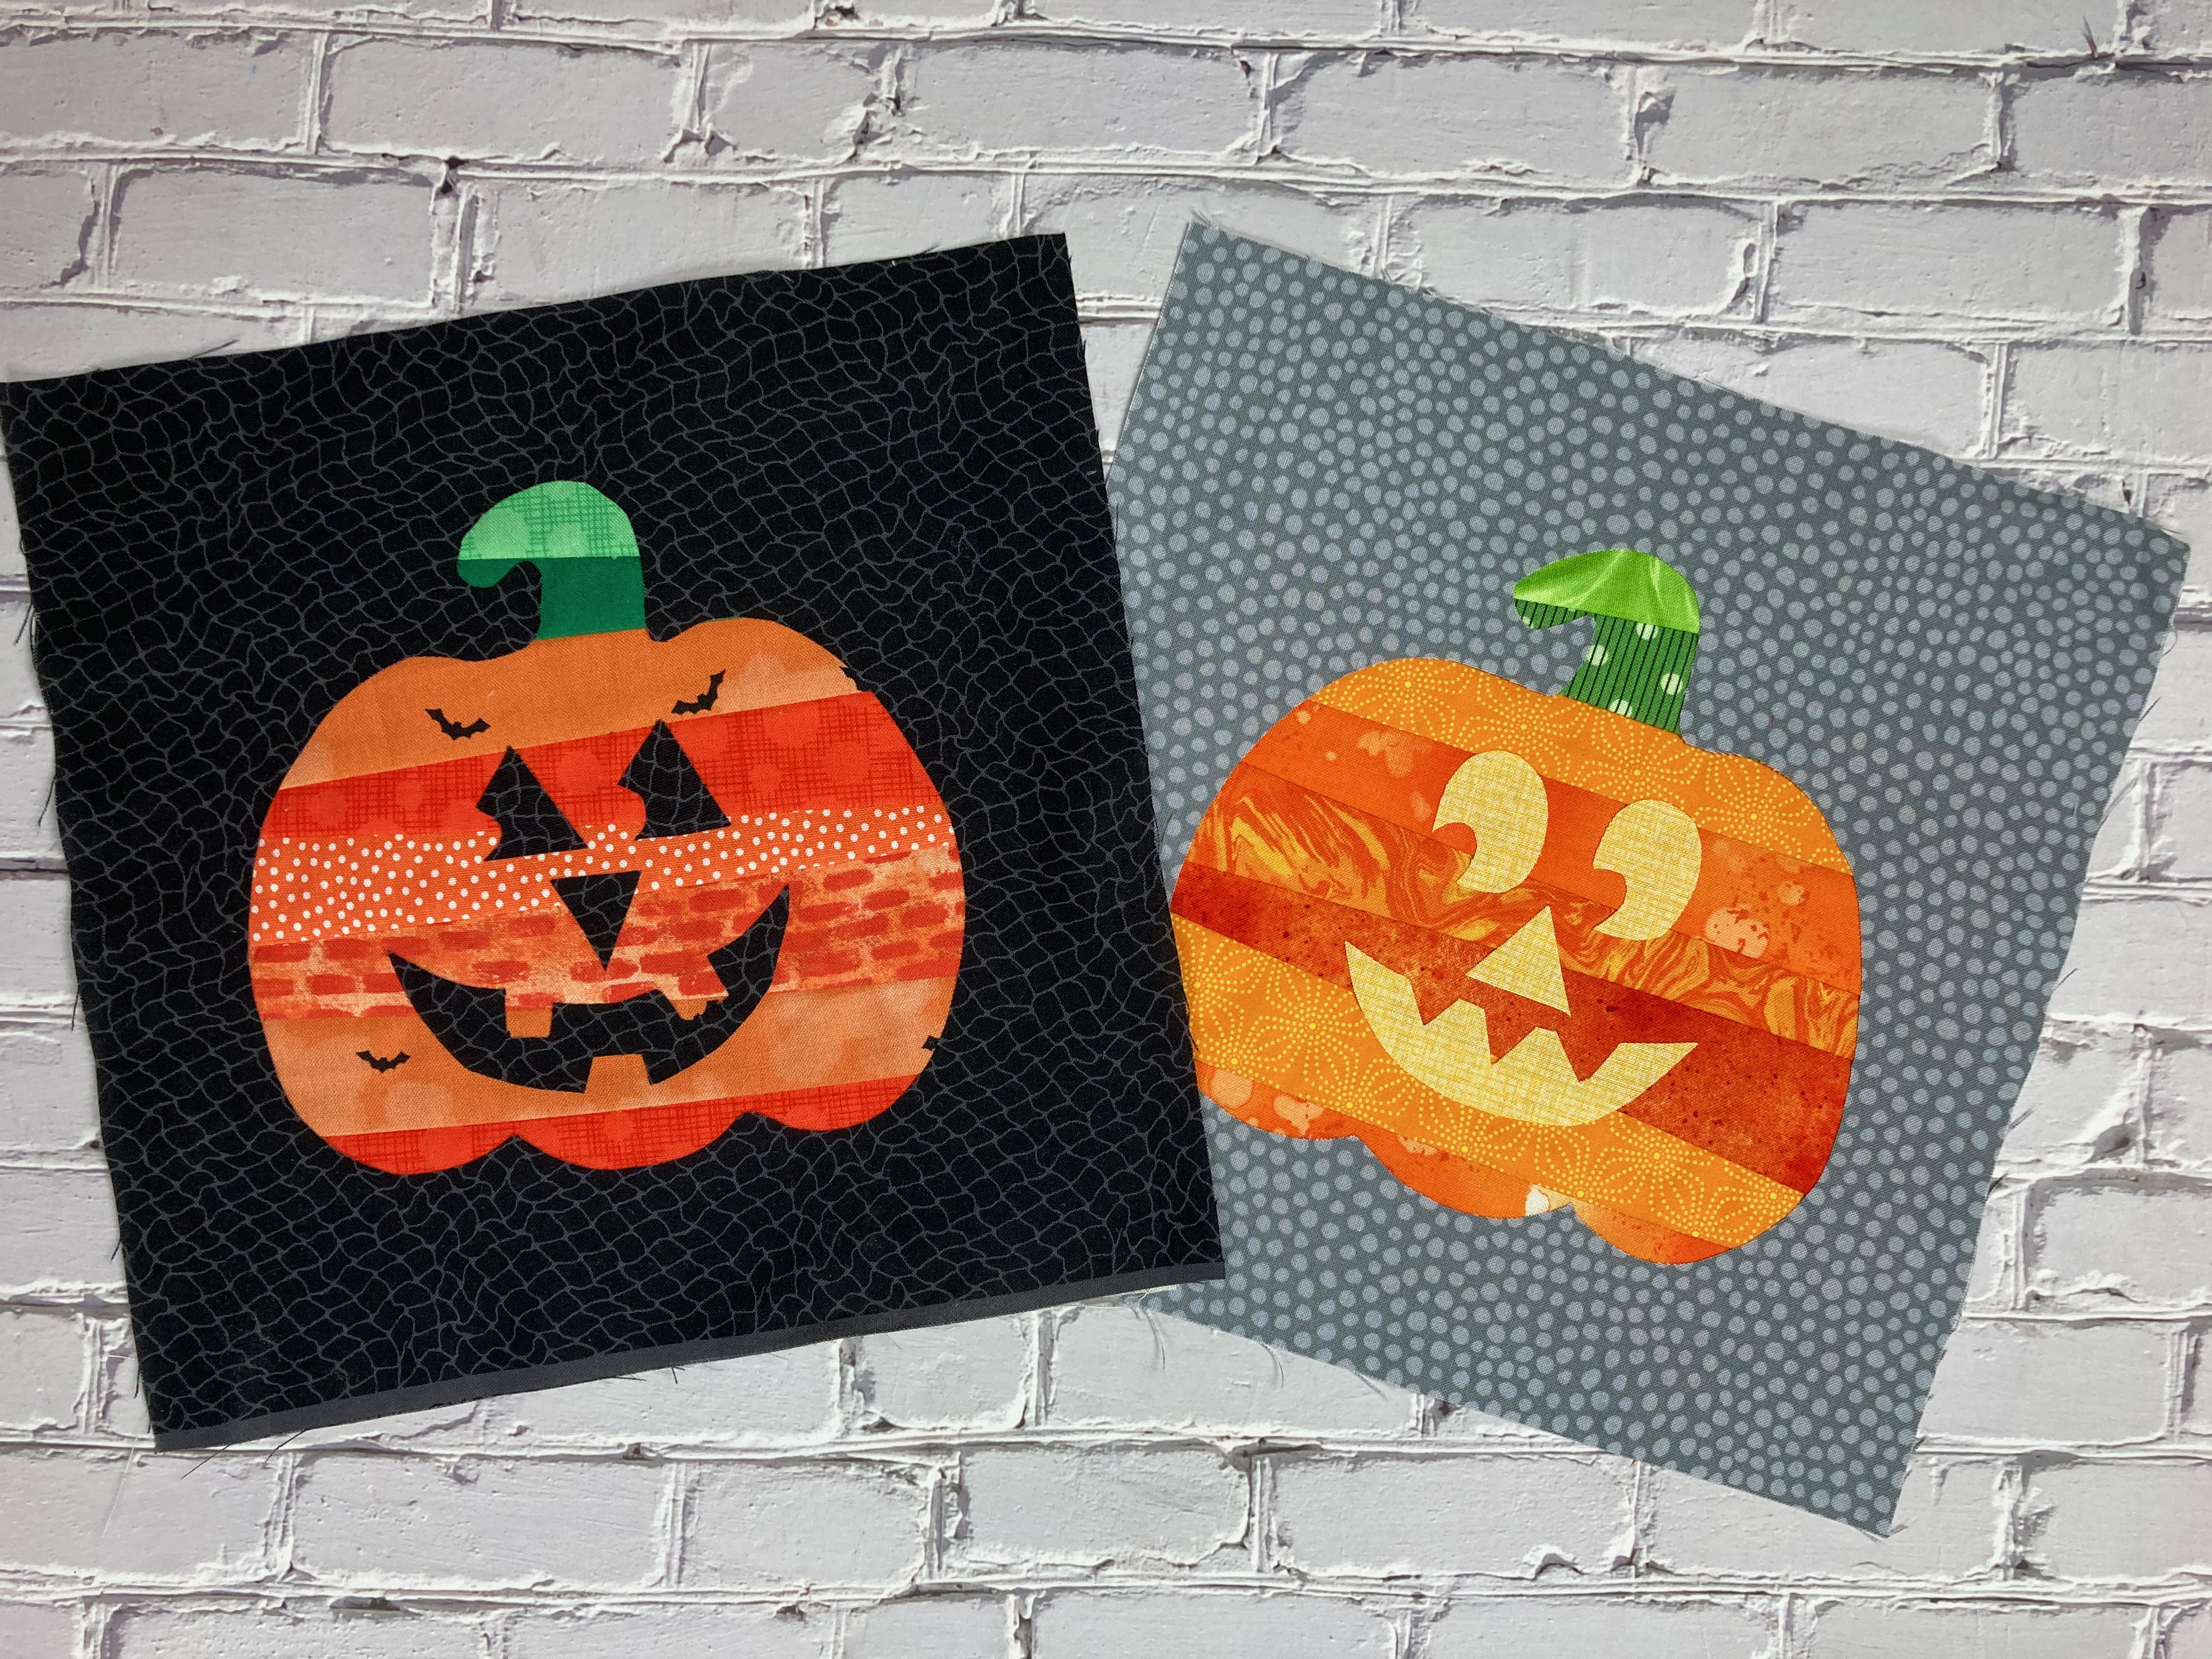
I used these two jack o'lantern blocks 


...to make this pillow:


and this trick or treat bag! (scroll down for basic assembly instructions)


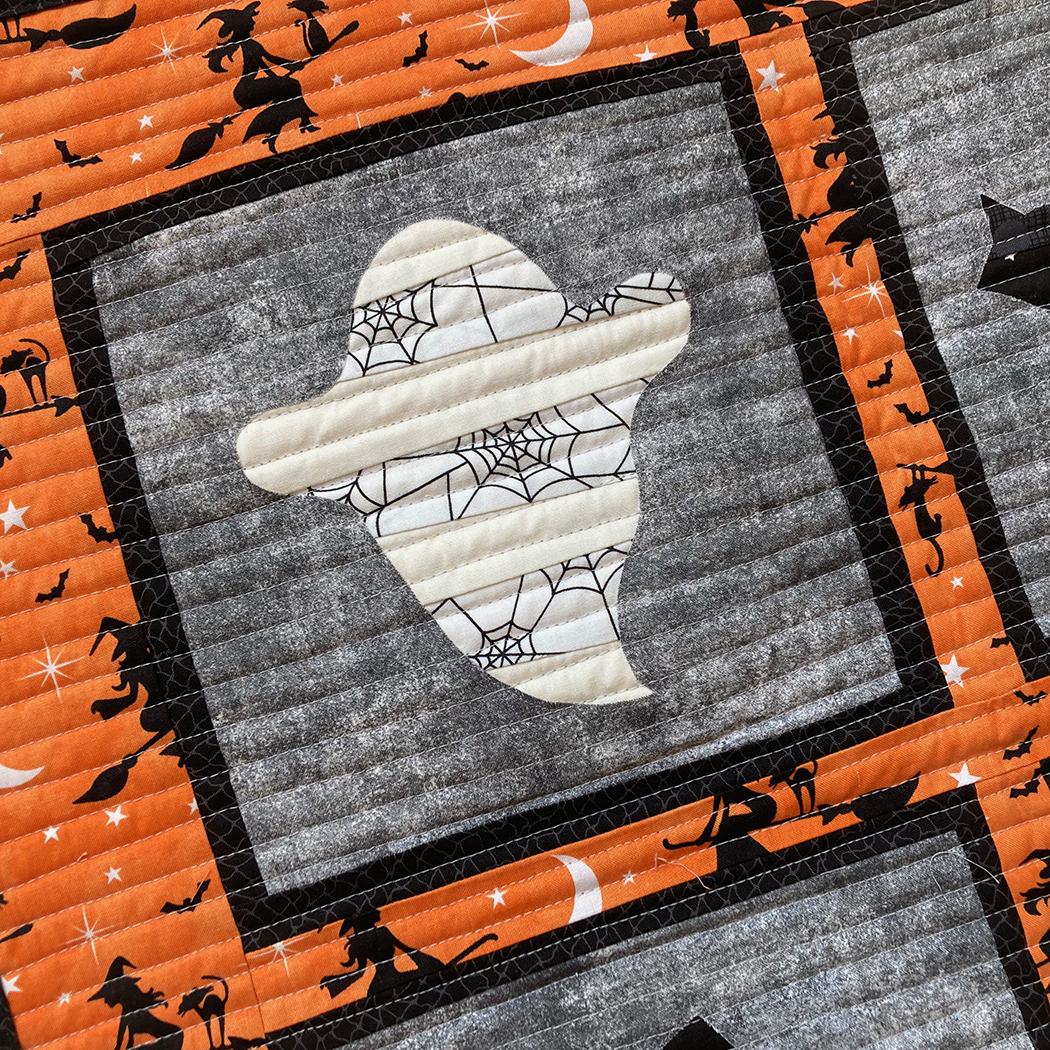
 I also finished my "Boo" table runner just in time to use it! Woo hoo!

How about you? Have you finished any Strippy Improv Halloween projects? I'd love to see them! Email me at lisaeruble (at) gmail.com or tag me on IG (@quiltyzest) and use the hashtag #strippyimprovhalloween

And if you don't have the pattern yet, you can get it in my Etsy shop.


Happy Halloween!

 **************************************************************************

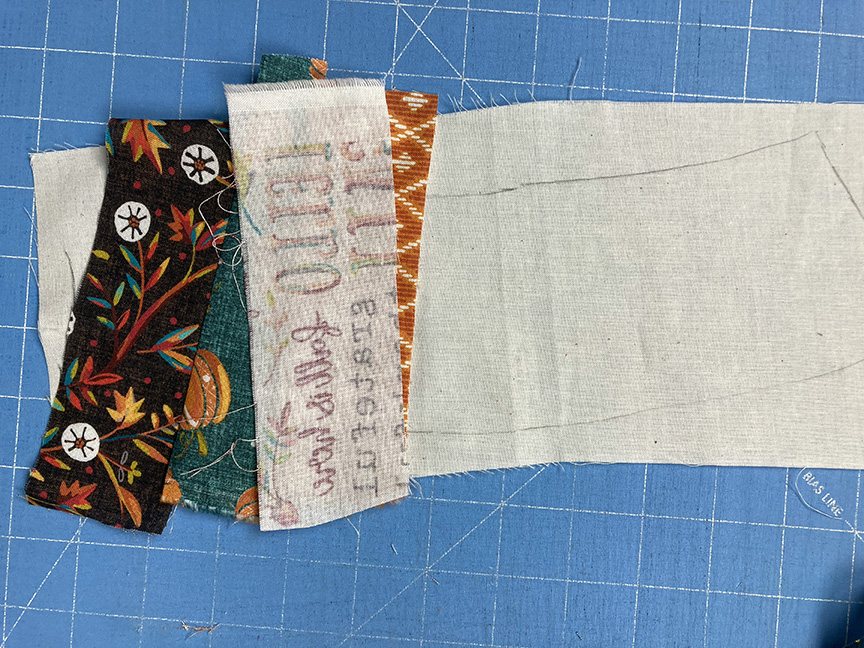
Strippy Improv Halloween Trick or Treat Bag


By request, here are basic cutting details and instructions for making the trick or treat bag. I didn't take step by step photos because I was too busy filming the video! 

(See the video on IG: @quiltyzest)

You'll Need:
1 8-1/2" square strippy improv block

Orange tonal: 
(2) 1-1/2" x 8-1/2" strips
(2) 1-1/2" x 9-1/2" strips

White spiderweb:
(1) 13-1/2" x 15-1/2" piece for bag back
(2) 3" x 18" strips for handles
(2) 2-1/2" x 9-1/2" strips for bag front
(1) 2-1/2" x 13-1/2" strip for bag front
(1) 5" x 13-1/2" strips for bag front

Black print:
(2) 13-1/2" x 15-1/2" piece for bag lining
(2) 3" x 18" strips for handles

Assemble the Bag:
1. Sew orange tonal strips to sides and then top/bottom of 8-1/2" square strippy improv block.

2. Sew 2-1/2" x 9-1/2" white spiderweb strips to opposite sides of block. Sew 2-1/2" x 13-1/2" white spiderweb strip to top and 5" x 13-1/2" white spiderweb strip to bottom to complete bag front, measure 13-1/2" x 15-1/2". 

3. Layer bag front and bag back right sides together and stitch around sides and bottom. Layer (2) black print bag lining pieces right sides together and stitch around sides and bottom, leaving a 6" opening along bottom for turning. 

4. Cut out 2" squares from bottom corners of both outer bag and lining. Box corners. Turn outer bag right side out. 

5. To make handles, lay (1) each 3" x 18" white spiderweb and black print strip right sides together. Stitch along both long edges. Turn right side out, press, and topstitch along both long edges. Make (2) handles.

6. Measure in 2-1/2" from outer bag edges and pin handle in place, matching raw edges. Repeat on bag back. Baste handles in place. 

7. Slide outer bag inside lining, making sure handles are tucked in. Match side seams and pin top raw edges together. Sew along the top outer edge. 

8. Turn bag right side out through opening in the lining. Stitch the opening closed. Topstitch along the top edge of the bag to finish. Happy trick or treating!

 **************************************************************************
And one more last thing...
If you're new here, welcome! I hope you'll stay and look around a bit. 
If you like what you've seen here, you can also find me:
To find all of my quilt patterns, visit my Etsy shop
Find me on IG here.
Sign up for my newsletter in the right-hand sidebar or here
(You'll receive a free pattern for my Diamond Drama quilt (below) as a thank you!)

Thursday, October 20, 2022

Strippy Improv Halloween QAL - Week 4

  It's week 4 of the Strippy Improv Halloween Quilt Along! Time for assembly and finishing! 


Ready to finish your project? I've got some tips and advice to make this process go more smoothly.

The Strippy Improv Halloween pattern includes directions for finishing your block as a table runner or as a wall hanging. Choose what works best for you!


Tip 1: Don't forget to secure the appliqued background to your stitching! Depending on how the project will be used, I vary which stitch I choose. If it's a wall hanging that won't be handled a lot, I use a straight stitch along the outer edge. If it's something that will be handled/washed more frequently, I will choose a zig zag stitch that adds a little more security. 


Tip 2: Choose a neutral thread color for machine quilting. This can seem hard to choose if, like in my pillow, you have a lighter gray block background and then a black border background. But if you choose a simple quilting design like straight lines (my go-to!), the quilting primarily provides texture and the thread color doesn't stand out. 


Tip 3: Let's talk machine quilting. Diane Oakes quilted my first wall hanging, and did a beautiful job! She switched out thread colors for different fabrics, did some echo quilting in each of te shapes, and added in that adorable spider and web!


I machine quilted my second wall hanging and the pillow. I opted for straight horizontal lines to create texture without distracting from the design. I freehanded the lines, starting along one of the block frames, and then moved over the width of my walking foot for each line. Quick, easy and effective!


Now let's talk about the pillow. After I made the jack o'lantern block, I decided it would be a great pillow. I created the same 1"-wide frames around the block, and then cut 4"-wide strips for the border fabric, creating a 16-1/2" square pillow top. I added a 16-1/2" square fusible fleece square to the back side and machine quilted it. I made a same size backing square (with fusible fleece and quilting too), and then added a zipper and finished up the pillow. The pillow assembly took less than an hour. 

Next up is a tote bag for trick or treating, which I'll share as soon as I finish it! :) 


Need the full Strippy Improv Halloween Pattern? Purchase the digital pattern here

And mark your calendars for the Strippy Improv Holiday QAL, starting mid November! 


 **************************************************************************
And one more last thing...
If you're new here, welcome! I hope you'll stay and look around a bit. 
If you like what you've seen here, you can also find me:
To find all of my quilt patterns, visit my Etsy shop
Find me on IG here.
Sign up for my newsletter in the right-hand sidebar or here
(You'll receive a free pattern for my Diamond Drama quilt (below) as a thank you!)

Thursday, October 6, 2022

Strippy Improv Halloween QAL - week 3

 It's week 3 of the Strippy Improv Halloween Quilt Along! 

How are your blocks coming along? 

If your life is anything like mine, the last couple weeks have sped by, and you can't believe it's already the second week of October. Halloween is coming!! 

I 'm still planning to finish some of my blocks into a table runner, and I'll show you that next week. 

But I also wanted a back-up plan - an idea for how to make a project from just one block in case time got short again. I chose to make two new pumpkin blocks, and I'm going to turn one into a throw pillow and one into a trick or treat bag. I'll share more details next week. 

Let's start with one more tip - this is about block background placement. Play around with your block background before fusing it down to make sure you get the best combination of fabric, and also to make sure things like the stems show through correctly. Here are two "don't do it this way" examples: 


The background needs to be adjusted up so the stem aligns with the green seam. 

The background needs to be adjusted down so the green doesn't show on the pumpkin. 

Play around with your background and make sure it's exactly how you want it before you fuse in place! 

*****************************************************

So back to my pumpkins - I decided they needed a little embellishment! When I stitched my pumpkin blocks, I wanted them to be jack o'lanterns instead. Aren't they adorable?!?! I just sketched my face shapes, but afterwards I created a pdf with similar faces to these for you to use. Download the pumpkin face templates here. Enjoy!

Since my pumpkin block has a black background, I knew I could use the fused pumpkin shape I cut out of the background for my eyes, nose and mouth. Easy! 


I love how those two bats look almost like accidental eyebrows! I didn't fare quite so well with the smile--the black bat in the right tooth makes it look like that tooth has a broken edge, which I've decided work for a jack o'lantern. But...pay attention to where you place your appliques! 
These are more of the Michael Miller Halloween and blender fabrics I used for my wall hanging above.


I also made a second pumpkin block, so I decided to try yellow eyes, nose and mouth so that this jack o'lantern looked like it was lit up. I like them both! 


If you add a face to your pumpkin, make sure to stitch down the appliques to secure them. Since you're fusing them to a pieced surface, they'll need those extra stitches. 

Next week, we'll talk about runner and wall hanging assembly (and the tote and pillow!). 

Until then, enjoy sewing your strippy improv blocks! 

Need the full Strippy Improv Halloween Pattern? Purchase the digital pattern here


 **************************************************************************
And one more last thing...
If you're new here, welcome! I hope you'll stay and look around a bit. 
If you like what you've seen here, you can also find me:
To find all of my quilt patterns, visit my Etsy shop
Find me on IG here.
Sign up for my newsletter in the right-hand sidebar or here
(You'll receive a free pattern for my Diamond Drama quilt (below) as a thank you!)

Saturday, October 1, 2022

Sew a Garden Pattern Release Day!

 Happy Saturday, happy October, and happy pattern release day!


Earlier this year, Benartex invited me to create a few block of the month designs with their upcoming fabric lines. I immediately keyed in on Pat Sloan's Sleepovers collection - it's got everything a quilter needs: great colors, a variety of values in each color, and different sized prints. Perfect for designing!

I chose these fabrics:


And used them to design the Sew a Garden BOM. 


I chose the name because each row reminded me of the rows in a flower garden (although in my actual garden, there would be plenty of weeds, too, LOL!)

I really like row-by-row BOMs because finishing a full row each month feels like such an accomplishment! There are 9 rows in this quilt; the final month of the BOM is for assembly.

Each row features a different block or unit, so they're all different, and they also use a variety of techniques. Two fo the rows include curved piecing, but I've included applique directions as well. 

We'll be working our way down the quilt, so Month 1 will be the top row. 

When you purchase the pattern, you'll receive the cover with yardage info and Month 1. On the 1st of each month, you'll receive the next month's pattern. 

You can purchase the pattern here.

I hope you'll join me for this fun BOM!


 **************************************************************************
And one more last thing...
If you're new here, welcome! I hope you'll stay and look around a bit. 
If you like what you've seen here, you can also find me:
To find all of my quilt patterns, visit my Etsy shop
Find me on IG here.
Sign up for my newsletter in the right-hand sidebar or here
(You'll receive a free pattern for my Diamond Drama quilt (below) as a thank you!)