
Hello and Happy December!
Today I shared a Santa Snacks mat tutorial over on the Thermoweb blog; here you'll find the tutorial for the coordinating Reindeer Mat! In my family, we put out snacks for Santa on Christmas Eve, and I thought it would be fun to create a little quilted mat to hold the cookies and milk for Santa, plus sugar and carrots for the reindeer. Adding Liquid Vinyl to the finished mats helps keep them clean from cookie crumbs and spilled milk!
 |
| Find the Santa Snacks Mat tutorial here. |
For both of these projects, I used fabrics from A Cozy Winter by Cherry Guidry for Benartex.
Such cute fabric!

Let's get started!
You'll Need:
(4) 2-1/2" x 8-1/2" strips of holiday fabric
(1) 8-1/2" square for backing
(1) 8-1/2" square for backing
Scraps of solid black fabric
(1) 8-1/2" square HeatnBond Fusible Fleece
HeatnBond Lite Iron-On Adhesive
HeatnBond Liquid Vinyl
(1) 8-1/2" square HeatnBond Fusible Fleece
HeatnBond Lite Iron-On Adhesive
HeatnBond Liquid Vinyl
Download the template for reindeer prints here.
Make the Reindeer Mat
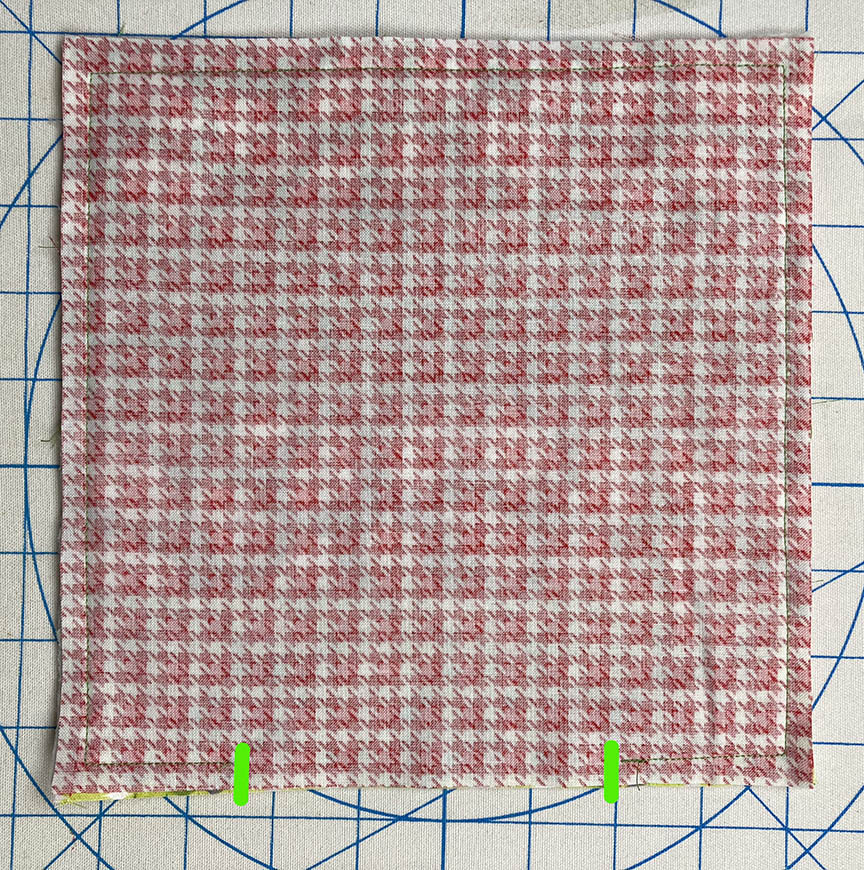
Step 1 Sew the (4) 2-1/2" x 8-1/2" strips together along long edges.
Step 1 Sew the (4) 2-1/2" x 8-1/2" strips together along long edges.


Step 6 Trace (4) reindeer prints onto the paper side of fusible web. Fuse onto the wrong side of black fabric and cut out on the drawn lines.
Step 7 Arrange the prints on the quilted mat and fuse into place.
Step 8 Referring to manufacturer's directions, apply Liquid Vinyl to the mat.


Psst...looking for another fun holiday sewing project? Check out my Strippy Improv Holiday pattern! It features 5 different blocks to choose from.


No comments:
Post a Comment