Hello, and welcome to my stop on the Back to School Blog Hop!
Raise your hand if you've ever admired a quilt pattern with curved piecing but decided not to make it, because... "oooh...curved piecing!"
I'm here today to reassure you that curved piecing doesn't have to be scary. It doesn't even have to be perfect.
The tricks to curved piecing are pinning - lots of it! - and patience.
Let's take a look. (Scroll down for the video version of this tute!)
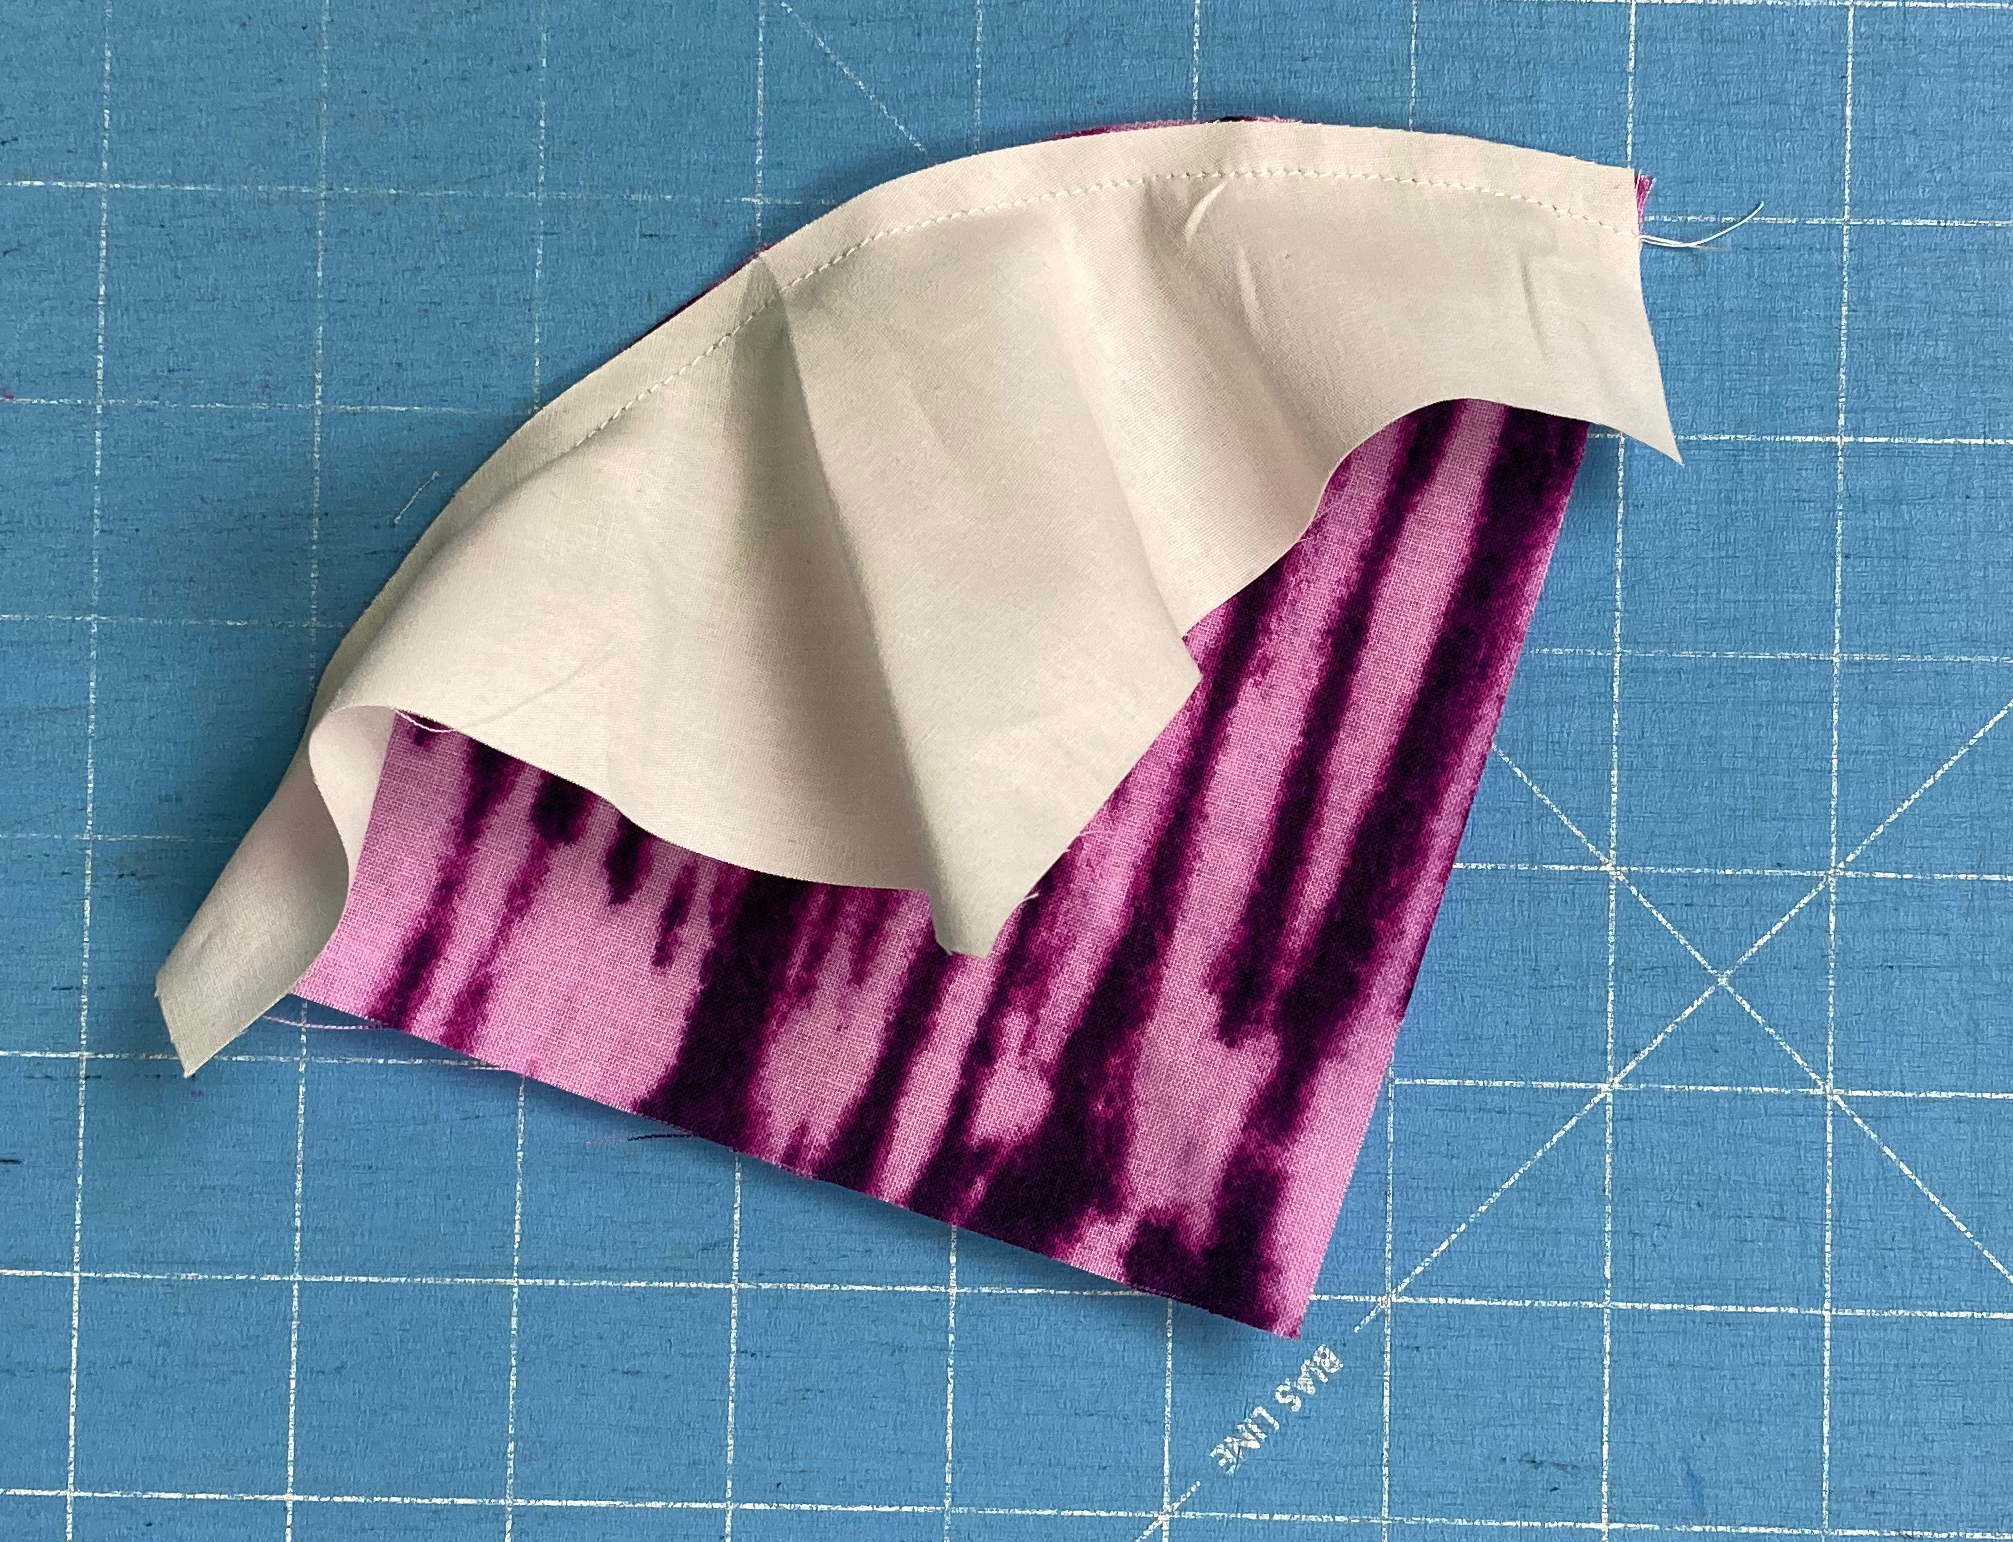
Step 1: Fold and press the quarter circle in half wrong sides together to mark the center of the curved edge. You can finger press, but I prefer a quick press with my iron so it's more visible. Tip: If you use the iron, you can also press two at a time if you've cut the pieces out in pairs.
Do the same with the background piece, making sure to press opposite so your pressed center points can nest. (My background fabric is solid, so either side works - if your background fabric is a print, press right sides together).
Step 2: Match marked center points and pin together as shown with #2 (makes sure to nest the folds!). Follow up with pins at #1 and #3, the two ends. Manipulate the fabric so the straight edge of the quarter circle and the straight edge of the background circle align. It'll make the unpinned sections lumpy - don't worry - we'll fix that next!
Step 3: Flip the pinned pieces over so the background is on top (You can pin in step 2 with either side on top). Again manipulate the fabric, being careful not to stretch it too much, and add in additional pins to match the curved edges.
Step 4: Take the pinned pieces to your sewing machine and begin sewing. Go slowly, gently adjusting the fabric edges so they're always straight and even before going under the sewing machine foot. You will always be sewing "straight" rather than on a curve. If you see a potential pucker, stop and tug gently on fabric to remove it before stitching that area.
Step 5: Press the curved block. I think it's easier to press toward the background fabric, but both directions work. For my upcoming pattern, two quarter circles will join, so I'll press half each way so the seams can nest. Measure your block and square up if needed.
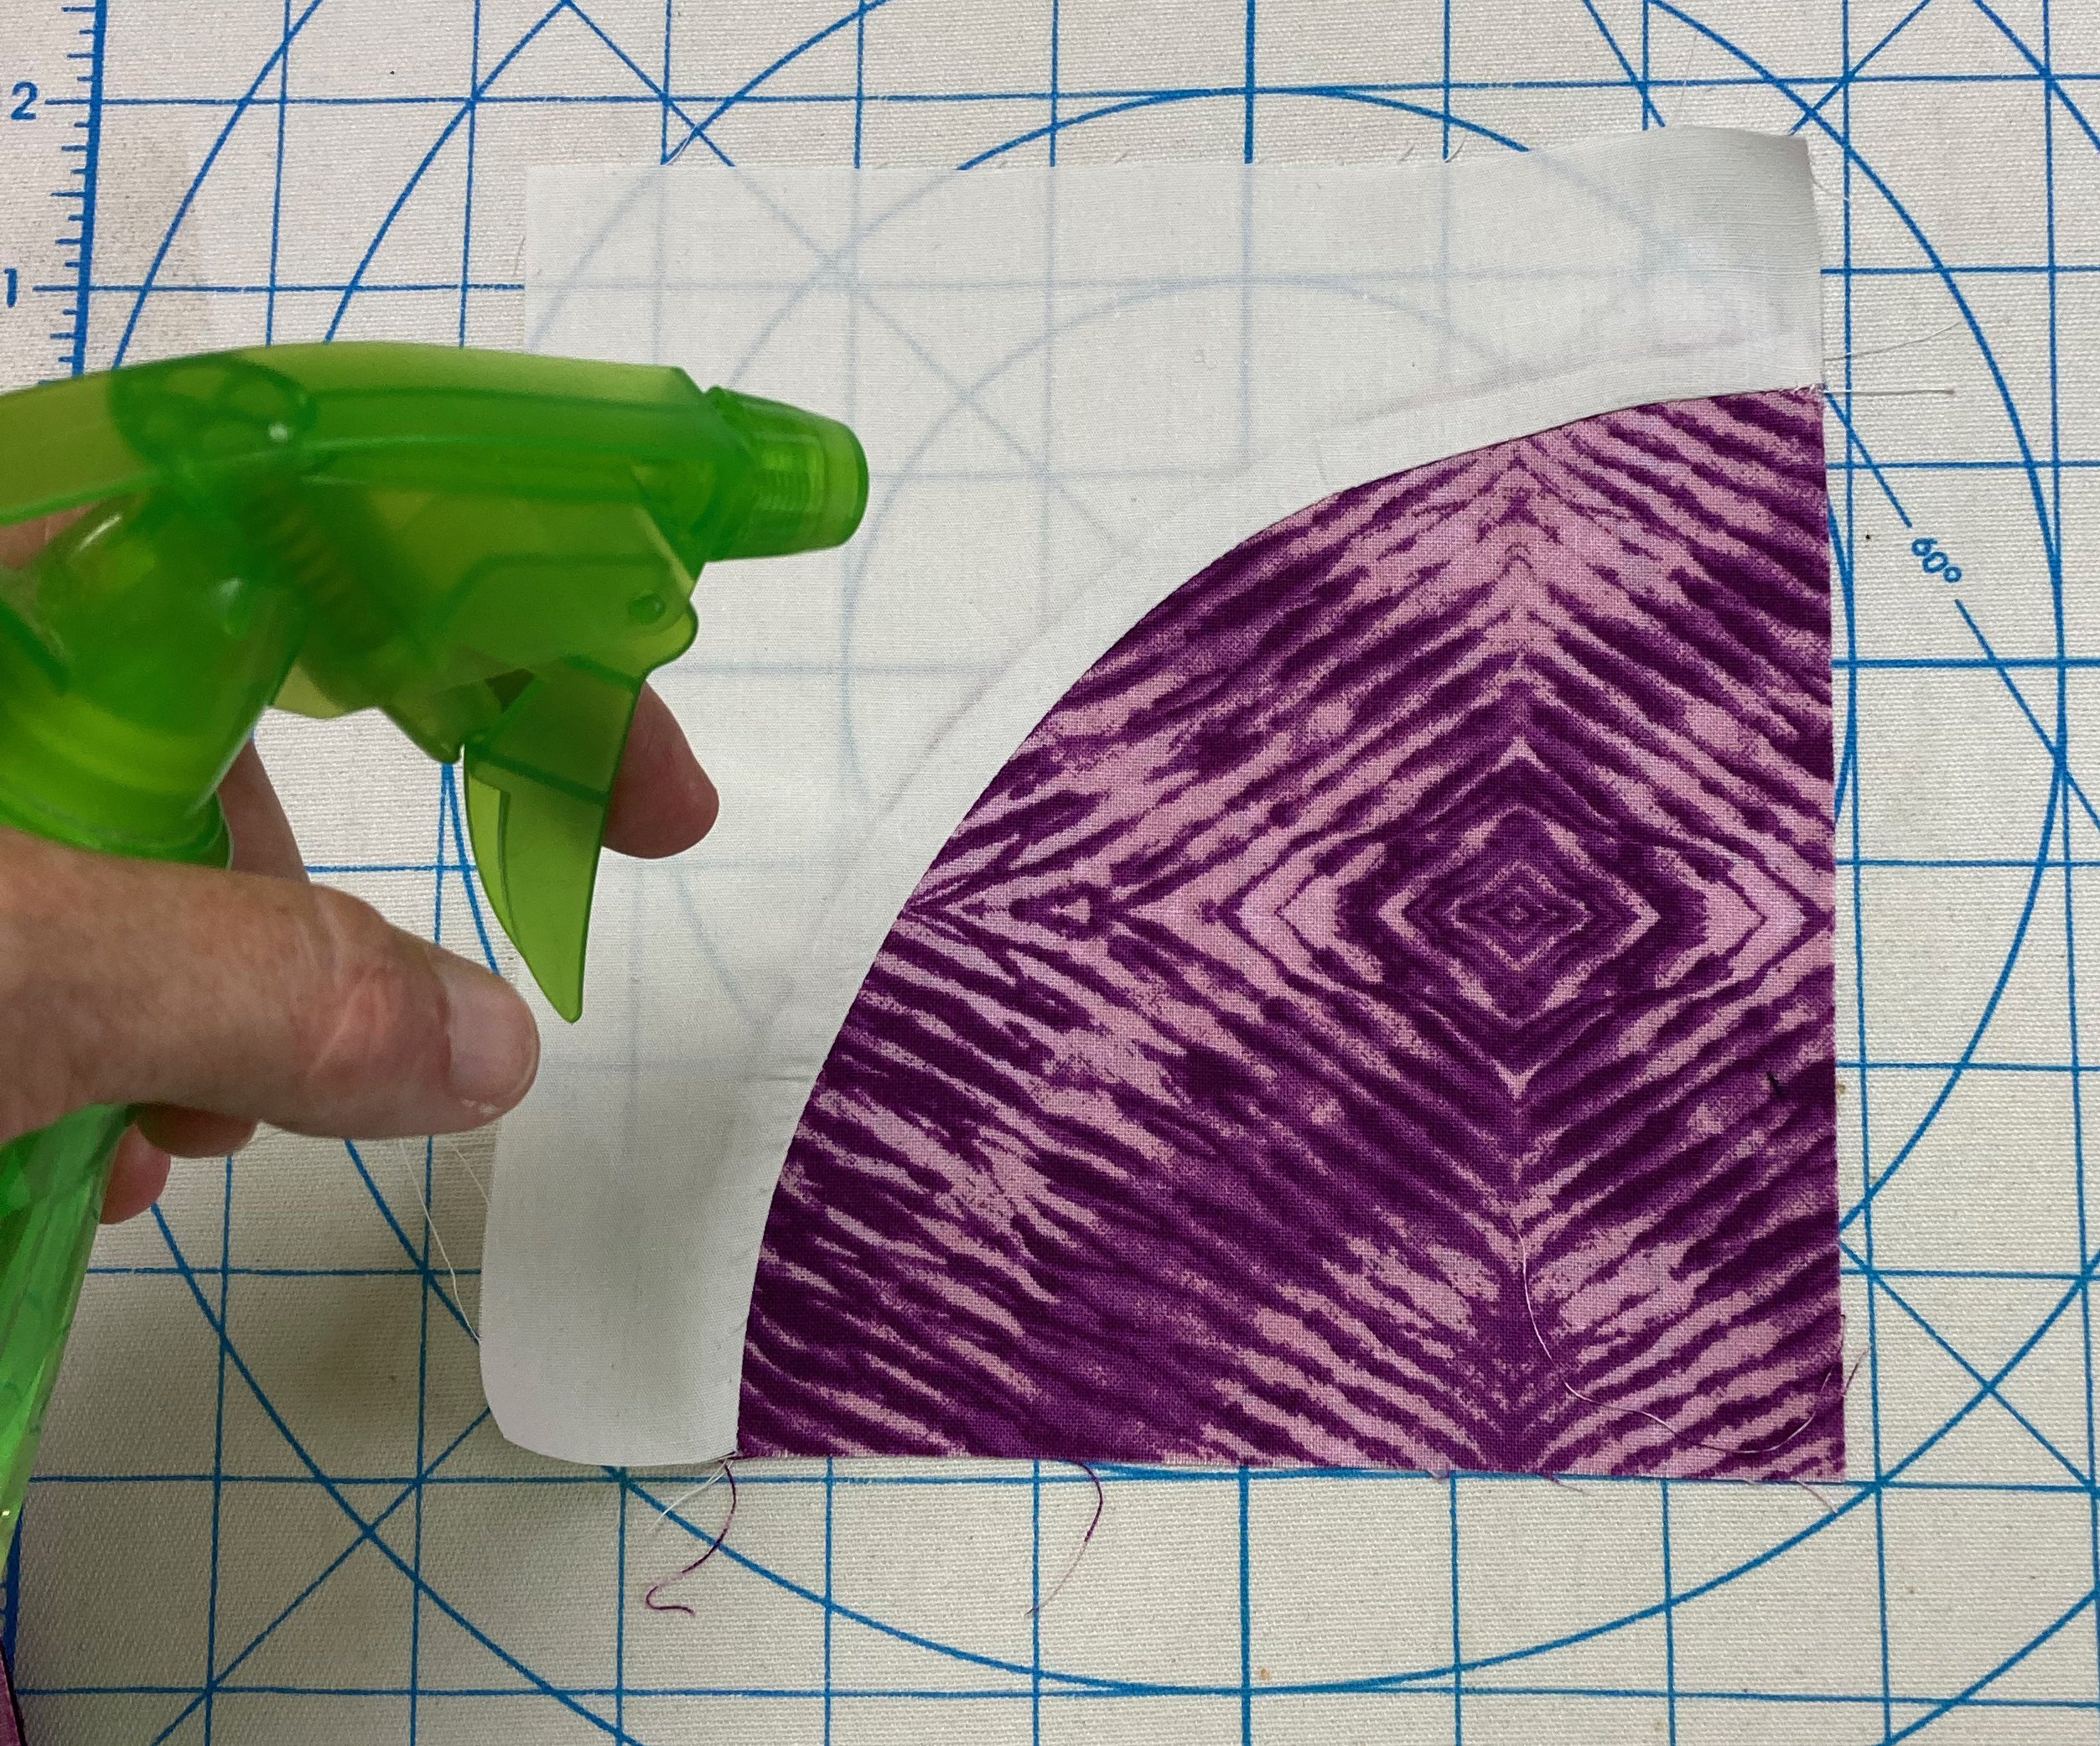
One more tip: Keep a spray water bottle handy to help with any pesky almost-puckers. A quick spray will also help flatten the block beautifully.
That's it! Not difficult, I promise. Because you're sewing on bias edges, you have to be gentle, but you also have a little "give" if things aren't matching up perfectly.
If you're more of a video learner, here's the YouTube tutorial:
One last thing...I perfect my curved piecing because I'm just about finished with a new quilt pattern. Below are two versions - they're reversed versions of each other. (And one is scrappy; the other uses the really fantastic Shibori prints from Benartex.) I'm stuck on a great name for the quilt though--will you leave me a comment below with your name idea? Thanks! I hope you enjoyed my Back to School post!
The Back to School Blog Hop is PACKED with tips, tricks and tutorials for quilters and sewers. Check them all out!
Sept 15 - Geeky Bobbin - Press for Success! - https://geekybobbin.com/pressing
Sept 16 - Katie Mae Quilts - Storage Solutions From The School Supplies Section - https://katiemaequilts.com/blog
Sept 17 - Quilting Jetgirl - Make A Design Wall You Can Use Your Hera Marker Against - https://quiltingjetgirl.com/
Sept 18 - Karen Bolan - How to Get Perfect Tension - https://www.karenbolan.com
Sept 19 - Devoted Quilter - How To Trim HSTs Without A Specialty Ruler - https://www.devotedquilter.com
Sept 20 - Sarah Ruiz - Calculating Quilt Backing and Binding Fabric Requirements - saroy.net
Sept 21 - Andy Knowlton - How To Sew Quilt Blocks With Partial Seams - https://www.abrightcorner.com/
Sept 22 - Lisa Ruble - Curved Piecing Doesn't Have To Be Scary (Or Perfect!) - quiltyzest.com. --YOU'RE HERE!
Sept 23 - Sarah Goer Quilts - Tips for Piecing Precise Points - https://www.sarahgoerquilts.com
Sept 24 - Faith and Fabric - Spinning Intersections On Four Patch Blocks - The Easy Way! - https://faithandfabricdesign.com
Sept 25 - Judit Hajdu - Draw String Bag - For Lunch Or Gym - quiltfox-design.com
Sept 26 - Sugar Sand Quilt Co. - The Care And Feeding Of The Wild Longarm Quilter - https://sugarsandquilts.com/
Sept 27 - Hilary Jordan - Quick & Easy Pattern Matching Technique for Quilt Backings - https://byhilaryjordan.com/
Sept 28 - True Blue Quilts - Sketch Then Stitch...Better FMQ Through Doodling - www.truebluequilts.com
Sept 29 - Sunflower Quilting - A Quilting Tip - www.sunflowerstitcheries.com
Sept 30 - Slightly Biased Quilts - Perfect Hand Binding Tips - www.slightlybiasedquilts.com
**************************************************************************
And one more last thing...
If you're new here, welcome! I hope you'll stay and look around a bit.
If you like what you've seen here, you can also find me:
To find all of my quilt patterns, visit my Etsy shop. Sign up for my newsletter in the right-hand sidebar or here. (You'll receive a free pattern for my Diamond Drama quilt (below) as a thank you!)


I love curved piecing and agree that pinning works the best for me, too. Your new patterns are lovely!
ReplyDelete